Sewing Cafe

Patterns, Tutorials and Works in Progress from the Sewing Studio of Lynne Williams

Tuesday, January 31, 2012

Eva Dress Contest - 1937 blouse #7482 Muslin


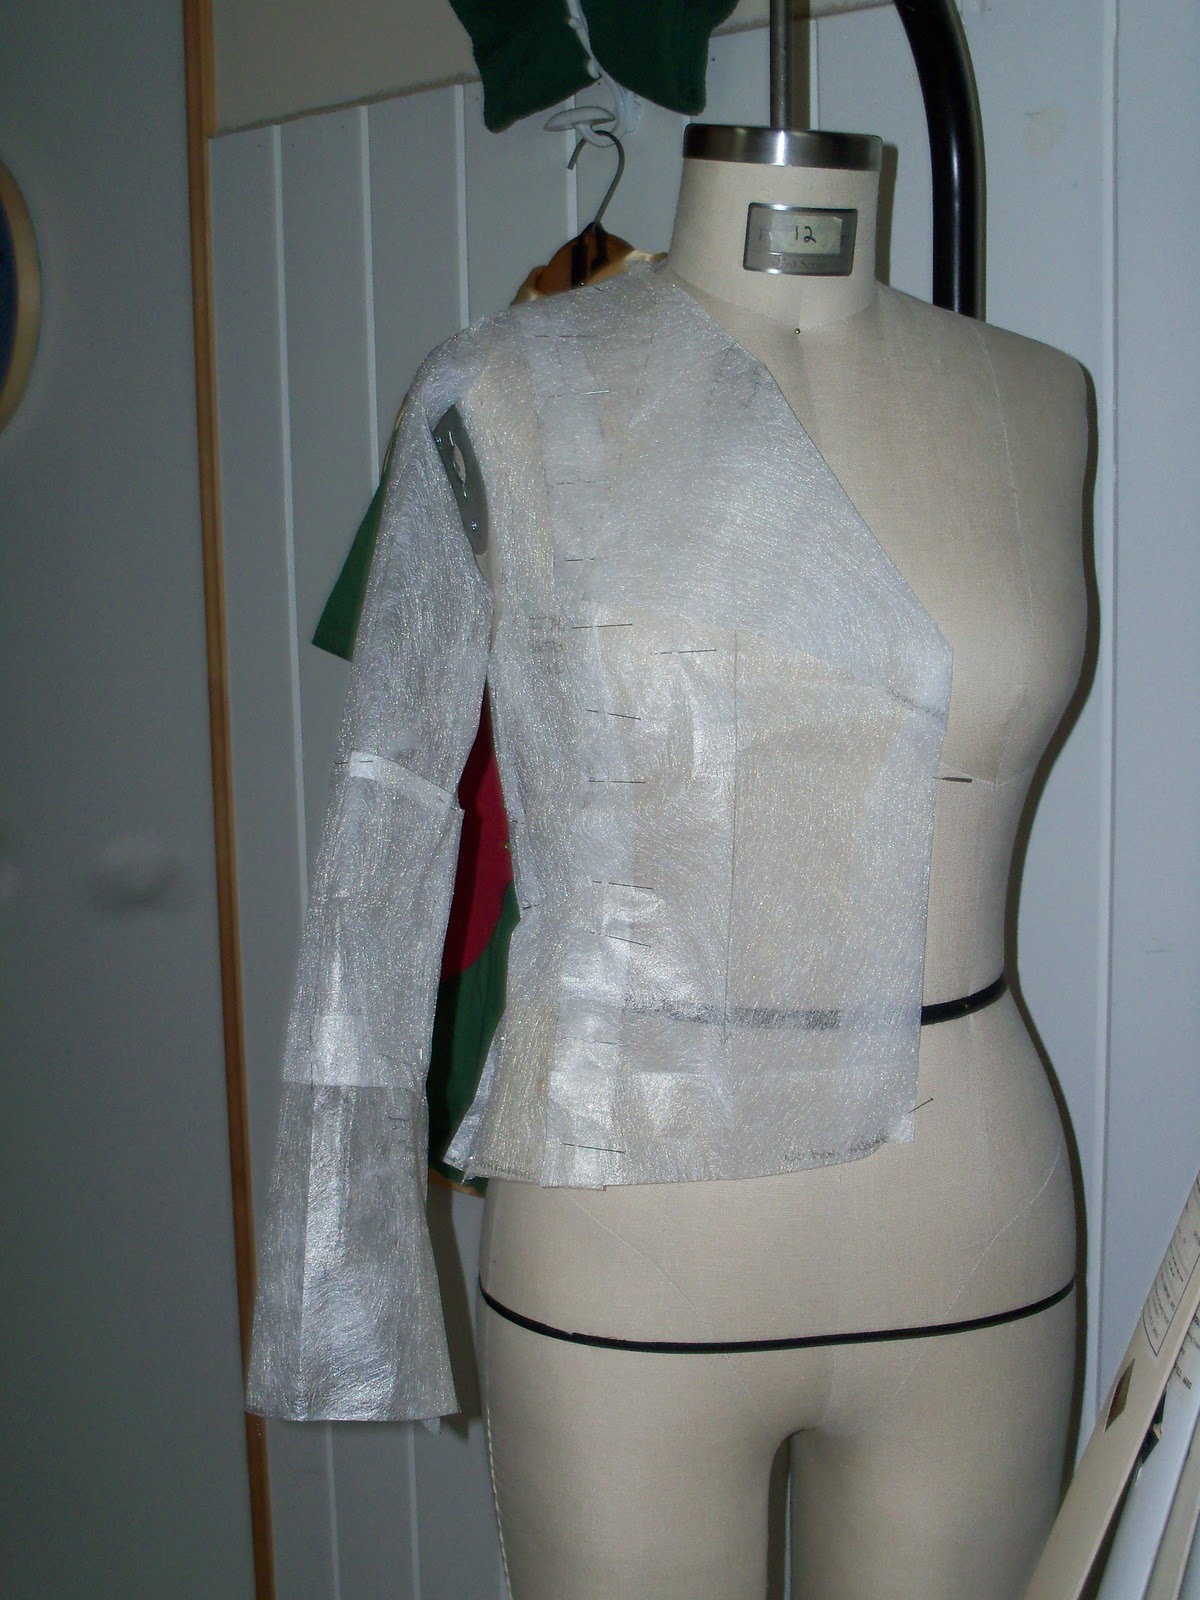
Here is the muslin for my Eva Dress Contest entry.

I love this blouse.  I was a little surprised by the amount of fullness in the sleeve cap and initially thought I would reduce it a touch.  But that would not be holding to the rules of the contest....and when I tried it on, it just looked great!  I love the way the neckline curves up onto the neck, don't you?
Chuck says "Wow! That is perfect for you...very nice"

I am pleased and looking forward to making it up in my wool challis.

Now about the pattern....
The instructions for sewing the neckline facing and attaching the lower bodice to the upper bodice are .....out of date, although possibly easier then how I chose to do it.  There is not a separate neck facing, just extensions along the front and back neck edge that get turned back and blind hemmed in place.

The instructions want you to overlap the shoulder seam - meaning fold back the seam allowance along the back shoulder, gather the front shoulder, Lay the folded back shoulder onto the front shoulder and edge stitch.

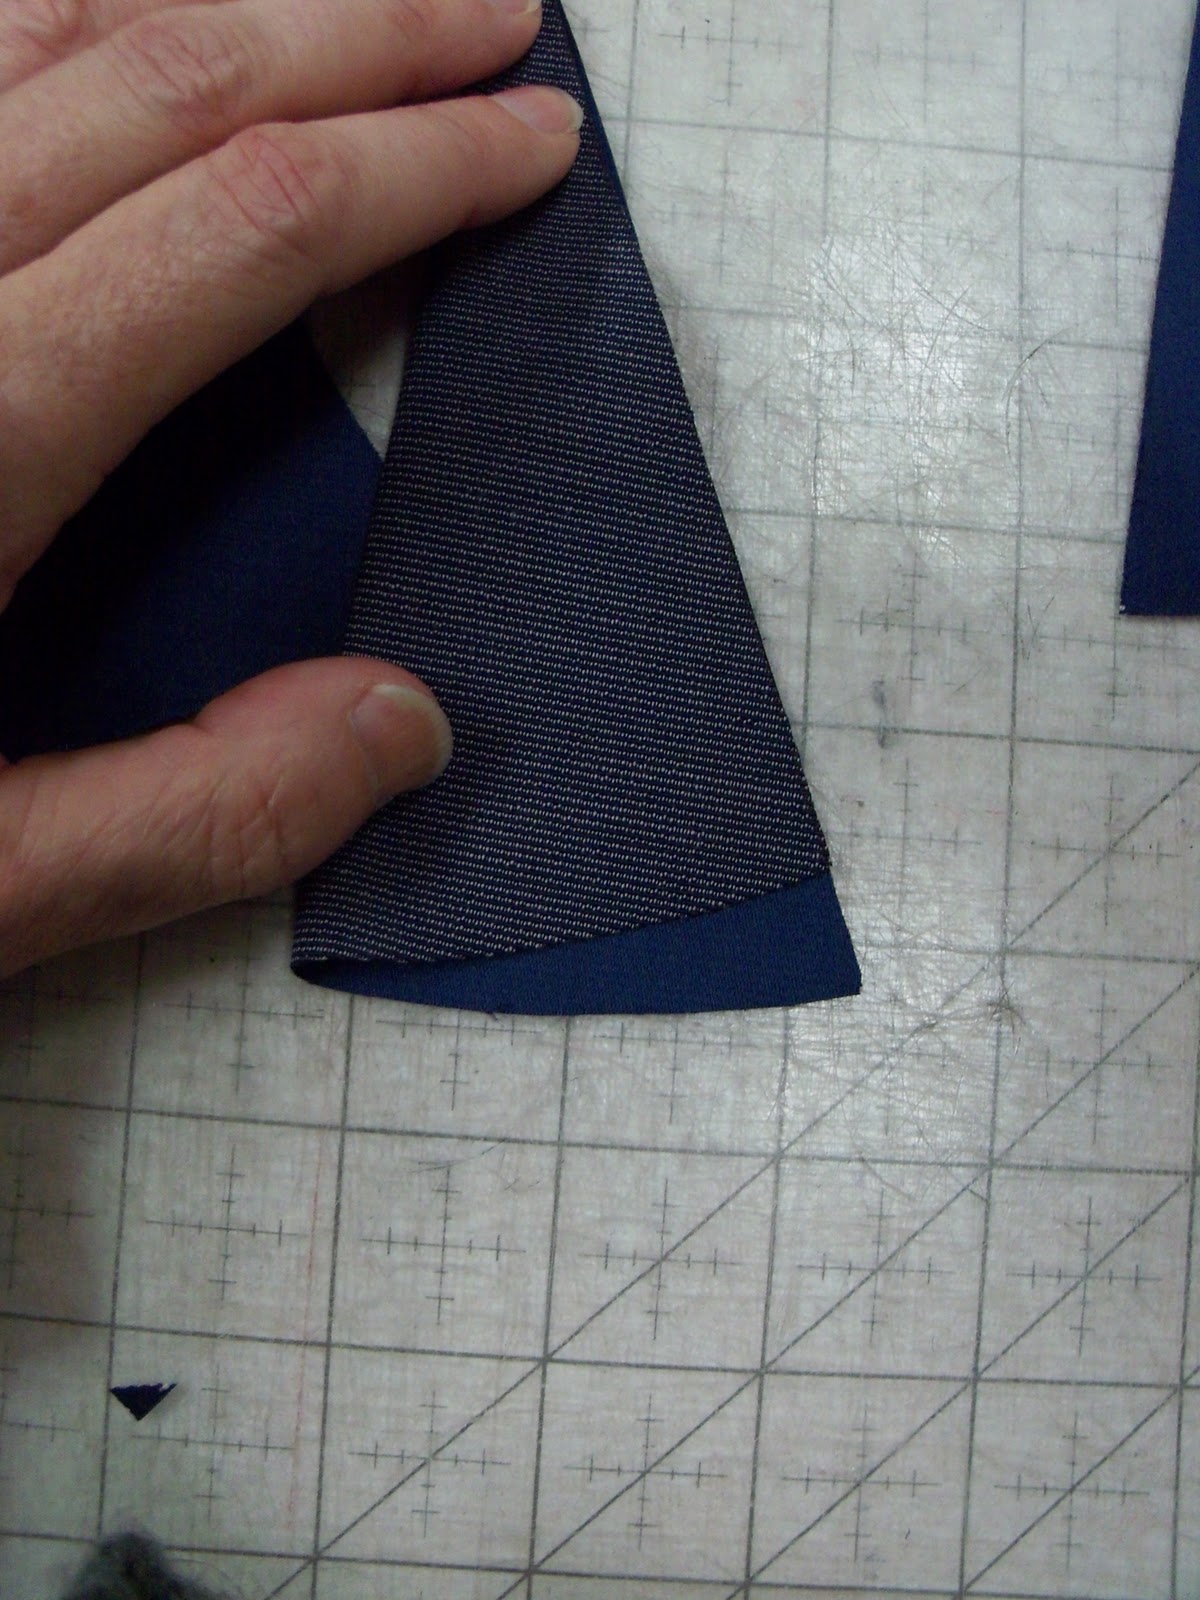
Here you can see the Blouse back, at least one shoulder and half  of the neck.
I stay stitched the edge, clipped into it and placed the front shoulder to the back shoulder with right sides together and stitched.  It is a bit tricky getting around that turn, similar to a shawl collar. Once both shoulder lines are sewn you can turn your facing back and blind stitch as suggested.
This technique is repeated to attach the lower blouse front to the upper, but again I placed right sides together and stitched.  You could certainly add the edge stitching after, if you like the look.

From here I will play with the gathering distribution on that sleeve cap, this might have been a misunderstanding of the patterns marks on my part.
Can you see the difference between the illustration and my muslin?  Yikes!


I also need to adjust the sleeve hem and placket which is simplicity itself as it has no placket piece, but has you create a placket from the under arm sleeve allowance and using hem tape to finish.  For authenticity's sake I will finish it that way.  The hem line though is uneven forming a peak at that underarm seam, which needs to be leveled out.  This might have occurred when I adjusted the length of the sleeve....I will be sure to post a tutorial on how to fix that simple and commonly found error.

Sunday, January 29, 2012

UFO Progress report - Indigo Junction Jacket IJ741

 Something has come over me....I find myself once again committing myself to new projects!
How does this happen when clearly I have plenty of unfinished projects to keep me busy...quite busy.
My new schedule is allowing me more time to sew...but let's not get carried away Lynne
Maybe an intervention is in order.
When last we left this project it looked very ...very similar to this, but there has been some progress.


The hem is complete.


If you look closely you can now see the sashiko stitching in silk thread up the center back.
I have also made progress on the other sleeve.


The hand quilting is completed.
I accomplished this by basting the wool and silk layers together ( long white thread)
Marking 1" lines with a chalk wheel 
Then I did a hand quilting or running stitch.
This does not take as long as you think it will....really:)


I am careful to not do my running stitch to close to the seam line because I will need room to press the seam open once it has been machine sewn.  I pin the silk lining out of the way because I don't want to catch it in the seam.


After my seam is sewn I press it open using a seam stick.  This prevents me from pressing a crease in the silk lining.


Once the seam has been pressed open I can lay the silk over the seam and hand stitch it closed.
I will do this tonight while watching Downtown Abbey.
I will also fix this little annoyance...


Do you see how the hem is uneven....Argh.  This is a basic pattern mistake which really rather irritates me.  It's also a rather common mistake. 
But what irritates me more is that I let it get this far....why?
When I trued up the pattern, I did not fix it...and this is something I specifically look for!
When I sewed up my cuff all I needed to do was trim it even with the front hem before I hand bound the hemline!  Each time I encountered this issue I just kept thinking " Oh for goodness sake Lynne, lighten up, its a bed jacket"  Ah yeah, a bed jacket I will be spending many many many hours on.  

If your going to do something....do it to the best of your ability.

Clearly this needs to be fixed especially since I didn't let it get this far on the other cuff - lol
So tonight..while watching Downtown Abbey this will be ripped back to the point where I can make it right.

Do you ever see a problem coming and do nothing to prevent it from becoming a bigger problem?
Why? 
 Will I ever stop this?  
Please share your similar experiences with me..
I need to know I am not the only one who pursues such a foolish course. 

Friday, January 27, 2012

Caped Crime Fighter - Dart & Godet tutorial

This tutorial covers the sewing directions on the WS1002 Caped Crime Fighter Pattern under
 "Cowl Sewing Instructions" steps 2-7


This is how your side Cowl #5 will look after cutting out and marking the darts and Godet cutting line. Cut along the Godet cutting lines an inch or two.
Do not cut any deeper until after the darts are sewn.


Step #2
Fold the darts with right sides together down the center and place pins at each end.
To insure your darts are accurately sewn.  Pierce the fabric with your pin along the front stitch line and straight through to the back stitch line as shown.

Continue to pin along your dart stitch line and then sew from one end to the other.


Always press your dart flat first being careful to not press beyond the point, which would cause the dreaded dimple. 
 Once the dart is pressed flat you will press the dart that leads into the godet towards the front of the cowl.  The lower dart which touches the hem line will be pressed towards the back of the cowl.


 Step #4 & 5
Moving onto the godet piece #7 - It is important that you mark the dot located at the apex of the godet. 
You will notice that one side of the godet is slightly shorter then the other.  The longer edge gets sewn to the longer/leading godet cut line.  
You can now cut the godet cut line to within 1/2" of your sewn dart.


With right sides together pin the dot on the Godet #7 to the very end of your sewn dart.


Place another pin at the bottom edge matching the cut line.  
The cut line will not match along the entire edge. 
Sew from the dot  maintaining  a 1/2" seam allowance along  your Godet cut edge.  Your bottom edge may or may not match depending on the accuracy of your cutting and dart sewing, but don't worry if its a little short or long, this will get trimmed when you finish the hem edge.


This is what you seam line will look like from the cowl side once sewn.  


I realize this part is scary...but you will now continue cutting along your godet cutting line right up to the end of your dart and beginning of your godet stitch line.


Step #6 

Flip it over so your right sides match again and the opposing cutting line is "matched up with your opposite godet edge.  You will pin as you did the first, matching the cut lines at the bottom.  Sew from the top to the bottom maintaining your 1/2" seam allowance along the godet only.  The godet cut line will have a very narrow seam allowance at the top gradually ending in the 1/2" at the bottom.  Here you can see that my hem lines don't quite match...no worries because remember you will be trimming that when you finish the hem.


Step #7

Press the godet from the right side making sure the seam allowance is laying nice and flat.
From the right side then stitch in the ditch along the edge of the dart grabbing the top tip of the godet to secure.

Now repeat for the other side and your side cowl pieces will be ready to sew to  your center cowl piece.  

Please leave a comment if you have any questions and I will respond back as soon as possible.

Hope you have enjoyed learning a new skill:)

Wednesday, January 25, 2012

The Eva Dress Contest - The 1937 Blouse begins


Last week I mentioned the Eva Dress contest and showed you the 1940's Playsuit pattern I am planning on making into Gardening Overalls.  

Today I thought I would share my other possible entry this 1937  Blouse which I plan on entering in the 3rd Category, which is described as: The Best use of pattern in its original form.  The garment must follow the pattern devoutly (meaning no changes to the design, although grading or alteration for proper fit are appropriate.


The pattern number is 7482 and it is available in a size 16 (34" bust)

This of course is my project worksheet for said blouse.
I am making it from a lovely burnt red wool challis.

Needless to say though before I can cut into my fabulous fabric I must trace the pattern and sew up a muslin,   This is strongly recommended on the pattern as these are original period patterns.  This means that the markings are minimal and unfamiliar to the contemporary seamstress, and the sizing my be different as well. 

I traced my pattern out onto wax paper, a method I often use as its very transparent , inexpensive. It's easy to make as wide as needed by simply overlapping the sheets by a few inches and ironing. 

I found it helpful to refer to the sewing directions as I was tracing to insure I was understanding the marks.  The pattern included a nice diagram of each pattern piece with additional information written on it.  For instance where the gathering happens between dots the diagram will say "gather", the grain lines and hems are marked with dots, but the diagram helps you to understand which is which.

The pattern only has 5 pieces and the construction looks very straight forward although again a little different then contemporary methods, but I will talk more about that as I move into the construction.

Upon measuring the pattern I found the actual pattern measurements to be:
Bust - 37"
Waist - 33"
Hem Circumference - 37"
Center Back to waist length - 17"
Sleeve length - 25"

The only pattern alteration I made at this stage was to shorten the sleeve 2".  1" above the elbow and 1" below.  The bust may prove a little small for me and the waist a little large but I will sew up the muslin before I make those changes.

Hope to see you soon with the muslin...wouldn't it be nice if I could get that sewn up this weekend:)

What will you be sewing this weekend?
Have you ever made any of the Eva Dress patterns?
Will you be entering this years contest?

Monday, January 23, 2012

Eva Dress contest & Sewing Project Organization

Today I thought I would share with you how I catalog my sewing projects and  ideas.  When the pieces start coming together for a project I like to organize them in such a way that I can track my time, ideas and expenses.  I do this for clients as well as my personal sewing.  

It begins with a form I made which was inspired by Roberta Carr's worksheet as found in:
 "Couture The Art of Fine Sewing"

You are welcome to download my form and use it for your projects.  You can find the form here

For the Eva Dress Contest I am planning on making this 1940 playsuit


My plans for these overalls are to use them for gardening although I am seriously haunted by making silk pajamas as well.  
Just Imagine how luxurious I would feel wearing a silk charmeuse playsuit with my Indigo Junction bed jacket?  
Can you say "Mr D'Mille I am ready for my close up"?

Alas the sensible side of me says I need something fashionable and serviceable to garden in.  Which would mean cotton lined linen overalls with some cargo type pockets to carry tools.  I also want to be able to roll the hem up, to keep them out of the water.  In order to accommodate that I will add some straps inside the side seam which will button to the outside side seam.  Not sure yet what I will use for the jacket, which I will most likely need.  A lightweight cotton shirting would  suit as it would protect me from the sun and bugs.

 I put in as much information as I have to begin and then I will add to the worksheet as I progress. 
 Under the Pattern Alterations I make notes about size changes I make. 
 The Design changes is where I list...well changes I want to make from the original design of the pattern.  As I am doing that I will make notes about any special cutting issues I might need to consider and list them under Cutting notes.
I think you get the idea:)

At this stage of the project nothing is written in stone. The sheet serves as a reminder and reference.  I slip the sheet into a sheet protector and place it in my project notebook. When I want to start something new, usually as I am finishing up some other project I will flip through my notebook and see what beckons.   As I finish them I move them to the back of the notebook so I can refer to them later.   Sometimes I think I know what I want to do with a particular fabric and I create a project sheet for it, but I can always change my mind later if I find different pattern or need.   

I like to use these when shopping for additional trims and notions all the info is available and easy to carry along.  Once I start working on them I pin them to my bulletin board for a constant visual reminder.  Currently I have 4 of them pinned and in progress.

Do you have a way you like to organize your sewing projects or would you rather not bother and just dig in?


Tuesday, January 17, 2012

UFO Progress Pos t- Indigo Junction Jacket


This is the simple Indigo Junction Pattern that launched my less then simple Bed Jacket.

I have made some progress on it since we last saw it listed as a UFO from August 2011


Of course this was done back in August when after tracing the pattern onto Pattern Ease I pinned it together for a test fitting.  This is not something I normally do as I have not found it a reliable means of fitting, but I thought that with a loose, soft jacket it would suffice.
I of course had to shorten the length of the sleeve which I did above the cuff point.
I created a narrower fit through the back waist, and took some of the swing out of the front.
I also decided to taper the hem a touch, so that it sweeps a bit to the back.


The recent progress I have made is:
1- completing the needle felting and embroidery on both cuffs.
2 - hemming and attaching the cuff to the sleeve
3 - Sewing the shoulder seams and binding them with silk
4 - Have begun finishing the hem by wrapping the lining to the right side and doing a hand applique stitch to secure.


This is the glass button I will be using for the front closure.  A stellar find at MJ Trims.

hand quilting on jacket with hem at top of screen

This is the inside back of the jacket.
If you look closely you can see the hand quilting which holds the silk lining to the Angora/wool face fabric.
As hard as I tried I could not get a good picture of this from the outside, as it is very subtle.  
The hand stitching is done in a silk thread and the pattern runs up the center back and I repeated part of the motif on the front lapels.  
The rest of the body is channel stitched at 1" intervals


This sleeve still needs it channel quilting.  Fortunately it is the only garment piece that still requires this.  Once the sleeve layers are quilted together the cuff will get attached and then the sleeves will be ready to set:)


I am still deciding how I want to do the buttonhole as well as finish the center front and lapel edge.  
I am also considering adding a bit of a mandarin collar as well, because I am always cold and having something on my neck seems to help.

Friday, January 13, 2012

Victorian Bodice Thrift Store Find

Late this summer I stopped by a local thrift store, one which I have not been into for years, to shop for vintage sewing items.  Upon walking into the dust and gloom( very grandma's attic like) I spotted this brown silk taffeta Victorian bodice!!
Warning! This post is very photo laden, so it may take time to load, but if you are a fan of Historical dress I hope you will find it well worth the wait :)


 Simple and so lovely.
It measures 34" at the bust and 25" at the waist, 12" across the back


All of the latest fashion with it's origami folds has nothing on these Victorian forerunners.
After doing some research I would place this Cuiraisse style bodice from about 1880.  
The fan detail here on the back suggests that the skirt that originally went with this bodice had a slim front with back bustle. 
 Similar to the picture below of Lumina Garnier

Photo courtesy of  Garnier Family Photo collection
Are you ready for the detail shots?


The bodice has 18 shell and metal button.  Very difficult to photograph I might add.  
The cut silver disc sits on top of what appears to be black mother of pearl which has a fluted edge.
3 of the buttons are missing :(


Sleeve cuff detail  on the 3/4 length sleeve.


The pleating/folds which would lay over the bustle.


The hand worked buttonholes which are more then half covered by the front tucks.


The interior is flat lined with brown twill and has one bone along the center back seam which extends past the waist. The inside placket piece closes with hooks and eyes at the waist.
you can see the selvage edge of the fabric along both center fronts. 


The seams appear to be machine sewn and hand overcast.
This shows a the intricacies of the back pleats/folds


I picked out a few stitches at the top of the bone casing to reveal the type of boning used. 
I believe its reed but have not confirmed this.

A final shot of the interior with the price tag still attached.  
The inside of the collar shows some loose threads which suggest that lace was sewn in at one time or perhaps a velvet ribbon?  Nothing similar at the sleeve cuff which could have been a possibility there.

This bodice still needs to be cleaned which I am still doing research on but I am thinking of making a skirt to go with it, so that it can be properly displayed.

For all my blogging friends who have a passion for historical clothing I would welcome any suggestions and information you would be willing to provide on its proper restoration.

If there are any other pictures or info you would be interested in, in regards to this bodice please feel free to ask.
 I will be happy to oblige:)

Saturday, January 7, 2012

One UFO complete - Knitting Smartie

 Ta Da!! or Voila' whichever you prefer....me I just love that its done and I can now wear it it!
I started knitting this cardigan as part of my Fall Essentials wardrobe and previously posted about here:
I love the shaping on this cardigan which has darts as well as side seam shaping.
I love the vent detail and moss hem stitch at the hemline.
I love the flecks of lighter color in the yarn which helps to create more depth of color.
I love the 3/4 length sleeve.
They yarn felt wonderful in the hand but did want to split easily which made me nervous about some of the sections where I had to rip back and redo, but when finished it recovered fine, steamed and blocked well, and now I am looking forward to seeing how well it retains its shape. 


When tried on for the first time my husband gasped and said "Like it was made for you" which of course it was, but we always say it because good fit is so hard to achieve and is always greeted with great satisfaction and maybe a little pride.  He of course was not just referring to the fit but the style as well, which does really suit me:)
I would certainly recommend this pattern and will without a doubt make it up again because the style is  useful,flattering and not at all difficult to knit up.

I plan on wearing it tomorrow and will try to post pictures of the ensemble.

How is your sewing going in the New Year?
Do you have a new skill you would like to learn?

I am seriously considering sewing up a vintage garment this year....any suggestions? 
What piece of vintage/ historical costume clothing would you like to see a tutorial of?


Wednesday, January 4, 2012

The Dark Knit

 The Bat Saga begins
I hope all of my readers are aware of my husbands love for the 66 Batman T.V. show with Adam West.
His desire for a replica costume began when he was a small boy..in fact he remembers finding "Batman blue" fabric in a local store, but alas his mother could not sew:(  so no bat suit for little Chuck.

Many years later he marries yours truly and the quest for the absolute replica bat suit began in earnest, after all his new wife knows how to sew....


Chucks favorite picture of Lynne in the Bat Cowl
 Little did I know how much this project would impact our lives...who would have guessed?
Since we began this saga we have purchased 100's of yards of fabric, viewed countless blue satin swatches, created patterns, worn the original suits ( thanks Mark Hardeman), met other fans of the show and have sold dozens of cowls all over the world. 

So naturally, when a beloved client of ours announced that his wife was pregnant with their first child.....we decided this special baby must have a Bat Cowl of his very own....Naturally:)
Picture of a very good baby, no screaming or nothing..ahh

 This cotton knit Bat Cowl was made by Peg's niece Laura at Flour & Fibers
We sent her pictures of one of our cowls and she developed the pattern and knit up this very unusual baby gift.


This is one of the photos she sent for approvals.
Awesome right?  

Chuck and I were so thrilled and our client was thrilled as well.
Plus Little Luke will be able to wear/ have his picture taken in this cowl for a few years yet.

I guess the moral of this saga is...good things come with patience, endurance and lots of love.  
I would personally like to think all of our clients who have contributed to this saga of love and costumes because without them...Chuck would not have his Replica Bat Suit. Luke would not have a hat for his little head, and I...well....I would have a lot less fun at my job.

Adam West in costume                Chuck Williams in costume
Related Posts Plugin for WordPress, Blogger...