Sewing Cafe

Patterns, Tutorials and Works in Progress from the Sewing Studio of Lynne Williams

Wednesday, February 17, 2016

Chanel Jacket - Launch

2 years ago about this time of year I flew off to Palm Springs Ca. for my class with Claire Shaeffer.  I knew when I took that class that I had the perfect piece of fabric in my stash for practicing these new skills.

I am just now getting to that project... 

The Pattern Vogue 8804 by Claire Shaeffer

The advantage this pattern has is the traditional 3 piece sleeve and of course Claire's extensive directions.


 My fabric, a loosely woven silk purchased from Sawyer Brook and lined with 16mm silk charmeuse. I took an additional mini class from Claire during ASDP's 2015 Convention and she showed me a technique of moving the princess seam and moving the bust shaping by shrinking and manipulating to create a seamless look.  A technique heavily employed by the house of Chanel in their classic jackets.  If you look closely at the above picture you can see the seam at the bottom but it disappears as it goes above the waist.  The portion of the seam that is showing will be covered by my pockets, causing the front to look as if it is made from one piece of cloth, not two:)  


Now we can see the lining I chose, the trim I am thinking of using and a start of a buttonhole.  After trying black and green buttonhole twist this tan disappears the most, so I am pleased with that.  The trim is a combination of fringing the silk, a black braid I had in my stash and the matt side of the lining.

Of course all of this progress came after creating a muslin of the jacket, altering it for fit, and marking the pattern pieces onto the silk weave with a basting stitch.  
To learn more about making a Chanel Jacket for yourself be sure to check out Claire's book " The Couture Cardigan Jacket" which includes a step-by-step DVD

Sunday, February 14, 2016

Zipper - How I came to love sewing with Zippers

Time is a precious commodity and must be used wisely.

 I recently reactivated my account at Pattern Review because I needed some sewing motivation and now I find myself back to blogging in order to do more sewing?  Well if one wants to post pictures to share with fellow sewists....having a blog is useful.  A great place to track progress, post pictures and create some accountability.  Somehow during my hiatus I lost track of this fact, so ....here we go.  I will need to keep it short and sweet because....time is precious and my job requires more of my attention than ever before.

Speaking of needing attention...meet Zipper, my new puppy, a toy fox terrier.


She makes me move away from the sewing machine throughout the day, and provides lots of good kisses and sweet attention.   A client nervously asked if she had chewed anything up yet...I replied "not that she isn't supposed to" and that was true until a few days ago when she created a hole in my ripple quilt.....sigh, but its mended now and good as new.


Next up....the progress on my Alabama Chanin top and the start of a Chanel Jacket courtesy of the wonderful Claire B.Shaeffer

Tuesday, November 3, 2015

It has been quite awhile since I last posted...business got the better of me.  WilliamsStudio2.com has kept me very busy sewing 66 Batman and Robin Costumes along with an increasing number of Wonder Woman costumes...so needless to say this has left me little time for personal sewing.

I recently attended the ASDP conference though and that provided me with a much needed vacation and reboot!  The instruction was world class but I will discuss that more in another post. today I want to share my Alabama Chanin project with you.

Just a few in process shots for Tuesday.


 This is a fitted camisole in two layers.  Its been stenciled with her rose pattern. 


 As you can see I am now in the process of quilting around the stencil with beads.  Once beaded you cut away the top layer to reveal a bit of color. 


Her organic cotton jersey is amazingly soft and so lovely to hand sew on. 

Have you sewn any Alabama Chanin projects?
or do you own any of her clothing?

Wednesday, May 21, 2014

Claire Schaeffer- Chanel and That Suit class review


I have recently returned from a fabulous sewing adventure in Palm Springs Calif.  After many years of hopeful desire I have finally realized my dream of taking a class with Claire Shaeffer.

If you don't know about Claire I suggest you head over to Amazon where she has many books for sale, or Threads where she has countless articles that she has contributed.  She is a leading educator in the art and craft of fashion sewing and a major collector of vintage couture fashion.

Your week begins having dinner at Claire's home, being introduced to her husband, well behaved dogs and  fellow students. It ends with regretful partings, half of a Chanel jacket and as many supplies as you can pack into a large flat rate shipping box.

The highlights for me outside of the 100+ degree weather and the familiar landscape were....

#1 

Seeing Chanel Couture garments up close and personal


Claire is incredibly generous with her time, energy and knowledge.  Every day new jackets would arrive at class for us to pour over, take pictures of, discuss and discover.


She took delight in pointing out to us the unusual details and amazing techniques used to create these beautiful garments.
Under collar detail of a Chanel couture jacket 

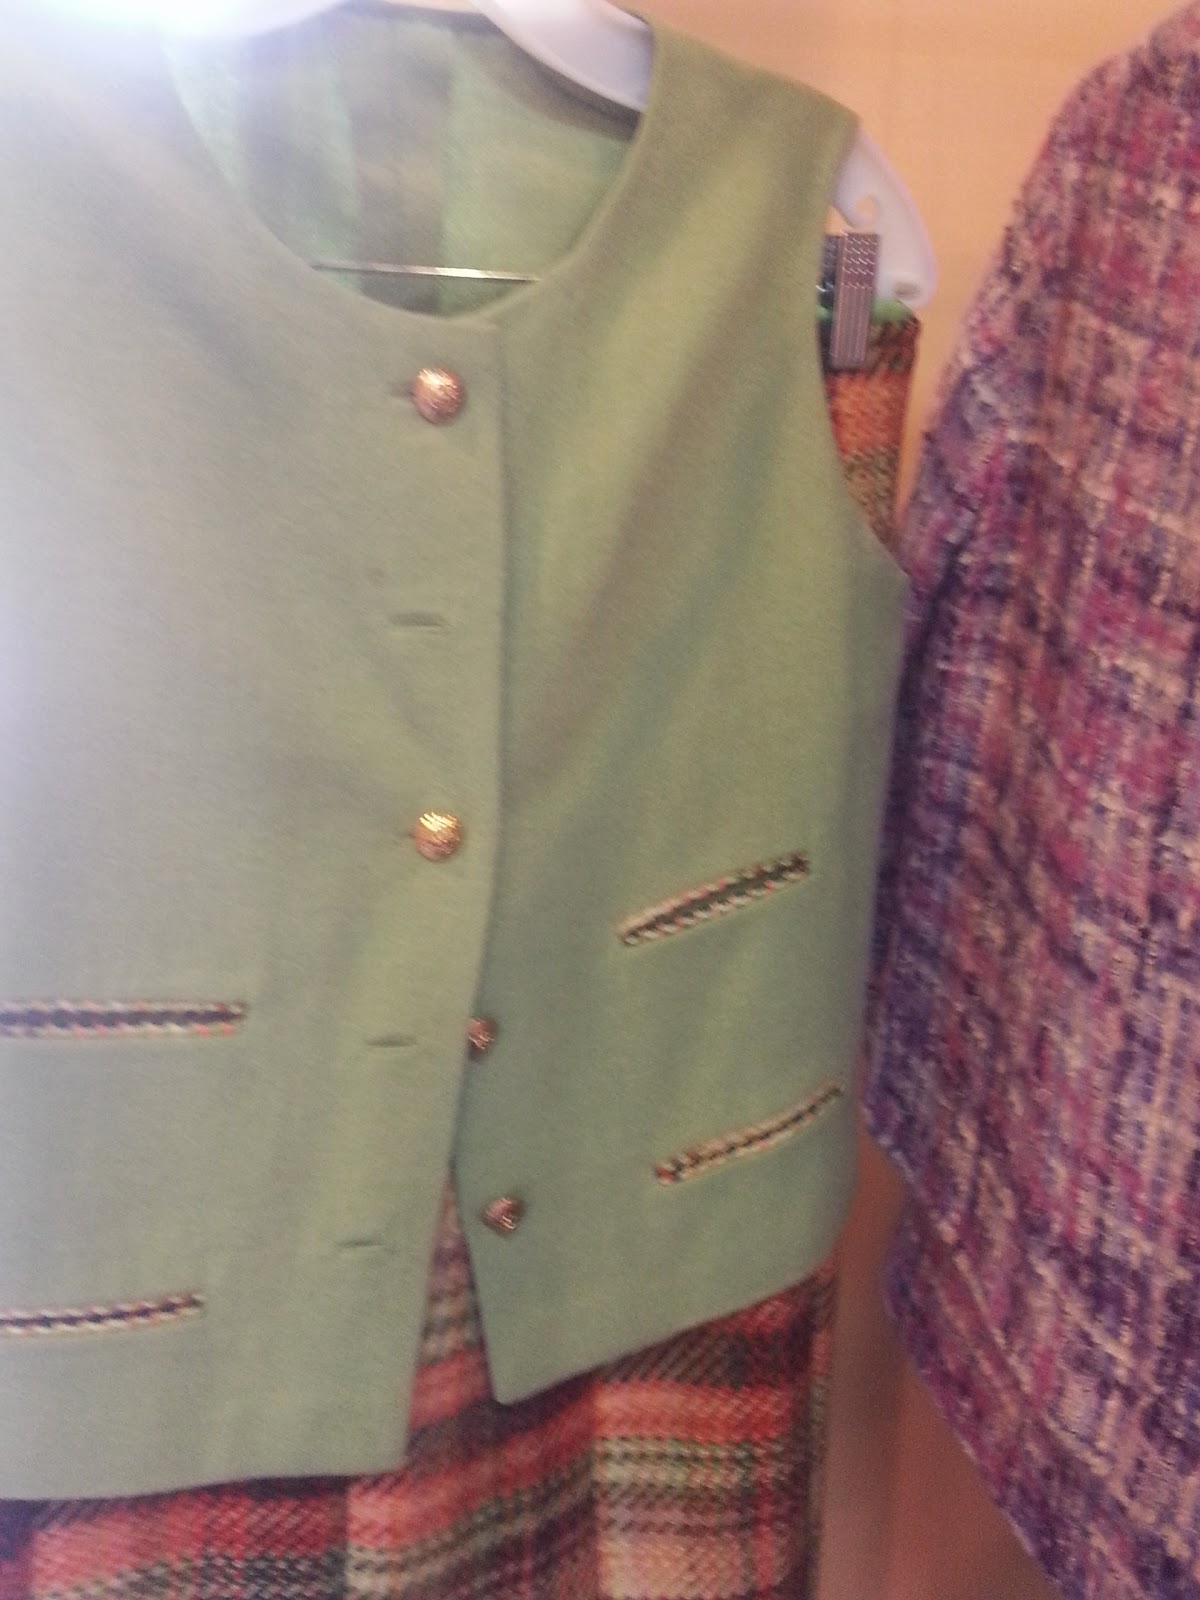
Pocket detail of a Chanel jacket


 We not only got to see the jackets, but vests, skirts and blouses that accompanied them.


#2 - Instruction

Claire would demonstrate the techniques we would need for each days sewing.  Thread basting, seaming, making trims, buttonholes, setting sleeves, shaping collars, etc.  It was a lot of information, a lot of sewing and a lot of fun!!  Although I own many of her books, have watched her DVD's  and sew almost every day of my life, there is nothing like watching someone stitch with accuracy and efficiency to help you improve your skills and learn new ones.

#3 - More Instruction

After learning a new technique and creating a sample being able to compare my work to the work done in the Chanel workroom...valuable beyond all measure!!
  One day I asked Claire about a certain hard to obtain pattern book..on the following day, not only had she brought in that book but every other book she had on the subject so that I could determine for myself which would be the most valuable for me to own.  It was a generous thing to do and extremely helpful for me.  She did this in various ways for each and every one of us!

#4 - The Other Participants

Claire has an assistant.  The dear Linda Homan, who we could confess our mistakes to, ask assistance from and who generally took care of us and Claire making all things run smoothly.
My fellow students were, bloggers, teachers, " beginners" and re-beginners. They were kind, supportive, encouraging and tired. It is a bit of a marathon, between getting to know people, looking at each new garment that was brought in, learning new techniques and trying to keep up with the days agenda, but so worth it. 

In summary, I had a great time, I cannot wait to take another class from her and I would encourage any of you who want to expand your sewing skills, regardless of your interest in Chanel or your level of experience to do so without hesitation. 
 Make it happen, you will not regret it.

If you would like to see more and learn more about Claire's class head over to La Sewista for a fab review

Sunday, March 23, 2014

Story Board Design Challange

I know , I know you have not heard from me in ages...simply ages.  The good news is that the Super Hero Business over at Williams Studio 2 is keeping us very busy.  The bad news, less time for personal sewing and a lot less time for blogging about personal sewing.


In an effort though to expand my horizons I have decided to enter a design challenge for the ASE this coming September. 
 Step 1 - Story Board - Check!
Step 2 - Sketches
Step 3 - Pattern/ drape final design
Step 4 - Sew...like the wind...and between costumes

I have not had the pleasure of creating a story board in quite a while.  This was fun and after all the musing only required an hour of my time to produce.  

Have any of you ever entered sewing or design contests?
Any recommendations, suggestions or warnings? - lol

Sunday, August 25, 2013

Developing the Love of Sewing - Trolls

What is it about sewing that is so engaging?  What were your first sewing projects?  Why do some of us remember sewing with such great pleasure while others found it to be horribly frustrating?

For me, those first projects were dolls and small stuffed animals.  We used to draw figures onto old sheets, cut around them, sew around them, stuff them with....old pantyhose(waste not want not) and Voila a new friend to play with was born.  
learning to sew with fun simple projects

My dear mother is the treasure keeper.  She has managed to preserve objects from my childhood which are only passed on to me when she deems that I will care enough to continue to care for them.  One of my motto's in life is..." Have I used this in the last 2 years? No! Than I can get rid of it"  You might not know that I have an abhorrence of clutter when you visit my studio, but I dislike cluttered, closets, drawers and cupboards.  This causes my Mother to act with due discretion when passing on objects that she has kept safely tucked away until she feels I would deem it important enough to continue to treasure it as well.

A number of years ago she presented me with some of the clothes I had made for myself as a child along with dolls and their wardrobes.  Whenever you received a doll from my mother it came with a complete wardrobe and of course a case to store it all in.  What a Gift!!

Here I am in midlife and these items have become very dear to me.  In fact I find myself, like many others stalking ebay and etsy to find my lost treasures.  Those items that were simply so abused by use they just didn't survive my childhood.  


Needless to say some of those items were sewing patterns.  
This pattern, recently found on ebay is one of those treasured patterns.  The trolls name is Melodie and we had many adventures together, most of them in am orange Jeep actually, but all of them in garments made from this pattern, McCalls 7589 Felt Togs for Trolls.  My sisters and I made so many of these garments over the years that the patterns were transferred to cardboard(discarded cereal boxes) several times.  
They are simple, clever and oh so flippn cute!!!

Believe it or not you used to be able to find lovely wool felt at your local fabric store, alas no more, but rest assured I will  be ordering felt shortly so that Melodie can model some new togs.

I am curious, Did you sew from patterns as a child or like to make your own?
Do you know a child who enjoys sewing small things?
Did you develop a love of sewing as a child or later in life?


Monday, August 12, 2013

Fitting Workshop by Fabulous Fit

Just received this notification in my inbox and how could I not share it with you all. 
 The price is right at $69.00 and it seems a great opportunity to learn about how to create proper ease amounts in your clothing or costumes without sacrificing style. 

Saturday August 24th from 2-3:30pm (eastern time)


Below is a excerpt from their site about the workshop

Universal Fitting Solutions is designed to help you with your day to day fitting challenges. 
If you have a passion for sewing, and yearn to make clothes that fit, you’ll save money, time, and avoid tedious fittings with this workshop.  By applying a few simple principles to your fitting routine, you will teach your hands and your eyes to connect, which will change the way your clothes look and feel.

If your goal is to overcome your fitting challenges, or get a professional insight on fitting, the ”Universal Fitting Solutions” workshop is for you!  Sewing is a passion, and using your skills to create fabulous clothes is just amazing!

The great thing about our live workshop is that you can ask the questions; as we believe that the best way to learn is to ask, discuss and share with others.

Things that may appear difficult at first will be approached from a different perspective.  Fitting clothes becomes easy when you know the rules of cause and effect. You will learn how fabric falls and how your clothes can move with you. “Universal Fitting Solutions” is an eye opener for anyone who wants to create clothes that fit and move with ease.

Here is the link to learn more and sign up.

Tuesday, August 6, 2013

Sewing Cafe-Retirement Pillow Project

 Judy A(student of sewing cafe) came up with this brilliant gift idea.


A Pillow made from men's ties.
Her brother retired recently after 40 years of teaching.  What was the first thing on his retirement agenda but to get rid of all of his ties.  Judy scooped them up to make this memorable gift.  
She opened them all up and then crazy quilted them on to a muslin backing.


Once she had the front complete I went through my fabric stash to find these complimentary cording and backing pieces. So masculine right?

Easy project, Great gift!

Monday, July 29, 2013

Blog Address Change

Announcement!!

We have established a new website and blog for Williams Studio 2 patterns, 2utorials and products.

Our new Website is at WilliamsStudio2.com  Same address as before but a whole new look.  Let us know what you think.

The Wiliams Studio 2utorials can be found at:

I will still be posting personal projects here on sewing cafe as always, but all sewing tutorials and instructions will be at the new address.

Please check us out, follow and be sure to leave comments and let us know how you like our new look.

Sunday, July 21, 2013

Sewing Cafe Project - Pam A's Beach tote masquerading as a project tote

Really feeling like I should post about something besides diet and exercise, after all the blog is called Sewing Cafe with Lynne, not Lynne's latest obsession...but that works too.

Voila'


I share with you Pam A's Tote. 
 Made for her daughters knit & crochet projects

Chuck instantly labeled it a Beach Tote until we showed him the roll ups, which hold your needles.
Needless to say it has pockets inside which imitate in style the ones you see here on the outside.
This bag is quite large and Chuck is correct it could hold lunch, a beach towel and good book, lotion and a beer with no difficulty at all.  
Great for the beach or large knitting projects, or multiple projects if you are one of those people who works on more then one project at a time:)

Well done Pam!! 
Look forward to seeing your next project.


Tuesday, July 9, 2013

Beach Quilt Completed

Perhaps you have forgotten about my quilting/home decor project?


There were certainly times this winter when I had, but I am determined to finish some of my current projects, before adding any more to the list.  
Like most projects it started with a dream, a dream to have a summer quilt that reflected  the coastlines from which Chuck and I hail from....Florida and California respectively.


It began with this pattern.
I am a sucker for stars, diamonds, and lots and lots, of small pieces


I collected fabrics for over a year.  Batiks that reflected the sea and sand.
It all finally culminated in this....


It reminds me of beach glass


I did the top quilting myself with a simple orange peel pattern.
The large overlapping circles reminds me of drops on water.
I marked the pattern with a frixion pen and stitched it using my walking foot on my Bernina


I love the backing, a warm cream with swirls of sand on it.

What inspires your quilting?
A place?
A pattern?
A fabric?
A friends quilt? 

Thursday, July 4, 2013

66' Replica to Cosplay Batman Cowl Comparison

66' Batman Cowls Unite

Assortment of 66 Batman Cowls with flash photography

Chuck says " One of these things is not like the others"  


Assortment of 66 Batman Cowl with out flash photography

Can you spot the 66' Replica Cowl in these pictures?
The third one from the left is our replica made from the same fabric as the original . 
 The other 3 are are our Cosplay cowls made from Satin Spandex.


Replica and Cosplay 66 Batman Cowls


The replica cowl (3rd from the right) still needs its flaps and ears while the Cosplay cowls are ready for  the paint dept (Chucks studio). 
 The Cosplay cowl has a faced front flap, not as authentic as the Replica but a nice clean finish.  
The light blue swatches of fabric on the flap covers the Velcro to protect from snags.

So while Chuck is painting tomorrow I will be sewing flaps, ears, and a banana:)
Hopefully everything will go smoothly and these beauties will be flying out of the studio shortly.


Monday, July 1, 2013

Sewing Cafe Classes 2013

Sewing Cafe is back in the swing of things here in Rhinelander.  Sew Smart ( our local quilt store) is providing a room for us to stitch, learn and share in.

1939 studio sewing room

Classes run the 3rd Saturday of each month and you will find the schedule in the right hand menu bar.
Its great to be sewing with our friendly group again and I am so pleased and impressed by the progress they all have made.  It's incredibly satisfying to see your students progress in their ability's  To our friends who have not yet been able to return, know that you are missed and we truly hope to see you in the near future.
These classes will not be running  through the Holiday months of Nov, Dec, and Jan. but if there is sufficient interest we will pick them back up in Feb.

Sew Smart has just about every supply on my recommended notions list which you can download and print for your personal or class use.

Don't forget my Project Sheet to help you organize all your creative whims.

Wish all my blog friends could join us:) 

Thursday, April 4, 2013

The Great British Sewing Bee - My recent passion

Have you all heard about this wonderful BBC2 production called  " The Great British Sewing Bee"


The first episode aired this week and although not available in the US I was able to find it on YouTube.  
I am completely smitten.

The show is a competition between "amateur" seamstress's, of various backgrounds, ages, and sexes who are given reasonable projects and tasks to complete within a tight but again reasonable time frame.

The contestants although nervous seem to have a normalcy about them we rarely see in American reality show. 
 Sew Refreshing

The judges watch their process and educate as they dissect and judge each task.  In this first episode they speak about balance, pattern matching, zippers, facings, bias, seam tension, darts and fabric choice. In between watching cautiously panicked stitchers problem solve under pressure and press each seam we see illustrations of patterns how they work and where the challenges will lie in execution.  Cleverly done and quite engaging.

Beautifully photographed and an inspiring work environment make it a joy to watch as well. 
&
I find the challenges make we want to challenge myself this week in a similar fashion.  

A-line skirt anyone?

Sunday, March 31, 2013

Dress Form Evaluation - Customizing Uniquely You

For personal customization and value the Uniquely You form is a great choice.  

$215.00 at Sew True
At $215 I think its a great value, as you can have a working form within a day if you use the supplied cover.

It provides you with all of the important criteria

1. easy customization
2. proper seaming 
3. a firm pinnable surface
4. A stand - although this is its weakest element.

This form is made from a poly urethane foam which compresses to fit your sloper/cover

From Diary of a Renaissance Seamstress

I prefer to make my own cover rather then using the one they supply primarily because of the large neck and arm hole openings.  Dairy of a Renaissance Seamstress has a cover tutorial here
Be sure that when doing your fitting you elimate all ease and wrinkles.  Double check your measurements with the forms after covering as the cover can stretch out due to the inside pressure.  Try some garments on it that you know fit you well to check the balance as well.
I do recommend a center front seam on your cover.  If you do this you will not require the string which is meant to help maintain definition between your breasts.  Additionally I have seen many examples of people taking knifes to their forms...but have never found this necessary.  The cover is extremely difficult to get on and requires two people...one to compress the foam in sections..while the other struggles with getting it into position.  Its a little like a game of twister, but it can be done.  Once the form has been under compression for a while it becomes much easier to do.

They are available as a dress form or they also have a pant form for $15700.  
If you want to treat yourself though I can highly recommend purchasing both and morphing them into this...

morphed form $375.00

 I cut the skirt portion off slightly above the waistline so that the pant form would provide the center front to waist measurement I required. The above form was originally used for The Wonder Woman Replica Project.  Now that it is no longer needed for that...the pattern work being completed I was able to adapt it for my shape. 


Rather shocking I realize to see her like this but it does show how the pipe fitting is placed within the foam.


This is the Lynda Carter body double.  It did require adding bust pads from my Fabulous fit form to achieve  her fuller bust.  As you can see she had a narrow torso.
The pattern I drafted for this dressform was initially taken from my Fabulous Fit form and then graded down to fit.
If you opt for the standard dress form look for a princess seamed dress pattern using a woven fabric with preferably a jewel neckline for your custom sloper.


I realize this is rather difficult to see in the black, but this is my body using the same form as the Wonder Woman Project.  As mentioned previously I would prefer using a red edged linen to make the cover as it is strong, densely woven and has a slick finish to it, which makes it much easier to dress and undress.  

The arm is made using a sleeve sloper fitted to you.  By placing a circle of fabric at both the wrist and arm hole opening you can then stuff it firmly.  The triangle of fabric at the shoulder is basically a shoulder pad shape which allows you to pin it securely to your form.  This removable arm makes dressing your form much easier.
Fashion Patterns by Connie has a pattern for a arm you can purchase here for this little project.

 For more in this series see the links below:

I believe this brings us to the conclusion of the Dress form evaluation series...now back to our regulary scheduled programing...

Wednesday, February 27, 2013

Dress Form Evaluation - Duct Tape forms

Today we begin the discussion about customizing dress forms.  The elements that I find essential from professional forms which can/need to be applied to our customized forms are:

A firm pinnable surface
Correct seaming
A solid stand 

Duct tape form by Williams Studio 2

One of the traditional ways to achieve customization is to add batting to an existing form.  This requires that the form is smaller then you in circumference, but only by an inch or two.


You can see another example of this here
 When you pad a form out dramatically it becomes to soft.  By to soft I mean that your garment can actually distort the form underneath and you cannot stick a pin straight into the form and expect it to hold.

The only exception to this is cup size.  If your purchased form replicates you exactly except for the bust size, by all means put one of your old bras on the form, fill out the cups and dance a jig.  You are good to go:)

For most of us though it will be more complicated then that.  
The Duct Tape form is certainly an excellent way to achieve a custom form, but to really have a working form you need to follow thru on the process.  What do I mean by that?
Courtesy of Threads Magazine
 The above form does not have seams, a pinnable surface or a stand.

A duct tape form requires a good friend $100 dollars and a few hours to complete the mold which will become your working form.   Many people stop at this stage but a hollow form which hangs from the ceiling is certainly not ideal or very useful.  
Completed Duct Tape Form by Lynne Williams

Now this is more like it, don't you think.

When making your form take it a few steps further by filling the form with expandable foam (in stages, this is very important, because if you don't it will bloat out your mold distorting the final shape).  
Once the duct tape mold is filled  remove the the duct tape, add a thin layer of batting and then create a cover and a stand for it. the cover is what supplies you with your correct seaming and it looks nice.  This generally brings the supply list up to $150-250.   It takes 2-3 days to fill the mold with foam and another day to make a pattern and sew up a cover.  In addition you will want to make at least one arm for it.


A note about these forms....do not include your arms(which I see pictures of allover the Internet), replicate the look of a professional form because the arms are not on them for good reasons!!  Solid arms on a form will limit what you can actually put on the form.  Remember professional forms collapse at the shoulders (see previous post) to find out why. 
Custom Dress Form by Lynne Williams
 In Ateliers and costume departments they use a easily made detachable arm like the one you see here.

Dress Form Stand by Williams Studio 2
In addition you will want to add a sturdy base and there are lots of suggestions out there for this. PVC, an iv pole, plumbers pipe will all do the trick. The base above came from a plant stand which I fitted with plumbers pipe and then spray painted black.  You can set them into the form by drilling a 8" deep hole into the bottom of your form and setting it in place with more expandable foam.  It's not adjustable but could be made so if you required that.

I hope you are finding this series useful.  
Please leave comments and ask questions.
Next time we will discuss customizing the Uniquely You Form

Saturday, February 23, 2013

Couture Inspiration - Valentino


Last night my husband and I watched Valentino.  
It's beautiful, educational and inspirational.
A glimpse inside fashion history and an amazing working relationship
Fabulous scenes of France and Italy

It had me re-thinking almost every sewing plan I have and made me desperate to vacation somewhere with a fabric store and cafe-lol

We were snowed in again yesterday about 6" of a rain/snow mix which did allow me to get some cowls sewn up

 and dream about a winter white jacket I wish to make or slacks...
What about that blue silk batik top... the black leather spencer...the wool circle skirt with tear drop hem and oh yes I still need to finish my lovely butter colored silk chiffon revision blouse.

What will you be sewing today?


Friday, February 22, 2013

Vogue 8648 - Muslin

I have been enjoying my Craftsy Couture Dress Class with Susan Khalje immensely.
She is an excellent instructor, and I just love learning new tips!  Personally I like the couture process of hand stitches, basting, careful manipulation and complete control.  It brings order to a chaotic world and helps me calm down.  I appreciate that it is not for everyone, which is fine.  Hopefully there is room for everyone at the sewing table:)

This is my muslin for Vogue 8684.  One of the suggested patterns for the class


I made very few alterations initially to the pattern outside of my fba.


I like using my above bust measurement as the starting point and comparing that to the full bust on the pattern.  This generally provides the more secure fit that I prefer.
In this instance though it did require that I give myself more room all around..sigh. But if I had gone up one size it would have been to wide at the shoulder, so it all works out and this is the advantage to making your muslin.
I released the side seams 1/2" on both sides, but then took out a scant 1/4" on the skirt front princess seams.
  
The back princess seams were let out that same scant 1/4" from the hip line down to the hem.
I used my dress form for this initial fitting and look forward to seeing how they transfer to my actual body.
I will say its a dream for seeing proportion and balance.


This piece of merlot silk dupion is a possibility for this dress.  
Someone just might invite me to a cocktail party or wedding and I think this might be suitable.
Wouldn't it be nice to have a dress in my closet, ready to go, for just such a possibility?

I am currently playing with what grain lines I want to employ on this garment.  If I put the entire garment on the cross grain the slubby texture will run the length of my body.  The pattern calls for all of the side panels to be on the bias and I am not sure yet how I feel about this.  I do love the way the bias works but will I like the way it looks?  I am kind of leaning in that direction just because it sounds fun, but what it really sounds like is that its time to play with the fabric some, and take some more pictures:)

Any thoughts dear readers?


Related Posts Plugin for WordPress, Blogger...