Sewing Cafe

Patterns, Tutorials and Works in Progress from the Sewing Studio of Lynne Williams

Tuesday, January 31, 2012

Eva Dress Contest - 1937 blouse #7482 Muslin


Here is the muslin for my Eva Dress Contest entry.

I love this blouse.  I was a little surprised by the amount of fullness in the sleeve cap and initially thought I would reduce it a touch.  But that would not be holding to the rules of the contest....and when I tried it on, it just looked great!  I love the way the neckline curves up onto the neck, don't you?
Chuck says "Wow! That is perfect for you...very nice"

I am pleased and looking forward to making it up in my wool challis.

Now about the pattern....
The instructions for sewing the neckline facing and attaching the lower bodice to the upper bodice are .....out of date, although possibly easier then how I chose to do it.  There is not a separate neck facing, just extensions along the front and back neck edge that get turned back and blind hemmed in place.

The instructions want you to overlap the shoulder seam - meaning fold back the seam allowance along the back shoulder, gather the front shoulder, Lay the folded back shoulder onto the front shoulder and edge stitch.

Here you can see the Blouse back, at least one shoulder and half  of the neck.
I stay stitched the edge, clipped into it and placed the front shoulder to the back shoulder with right sides together and stitched.  It is a bit tricky getting around that turn, similar to a shawl collar. Once both shoulder lines are sewn you can turn your facing back and blind stitch as suggested.
This technique is repeated to attach the lower blouse front to the upper, but again I placed right sides together and stitched.  You could certainly add the edge stitching after, if you like the look.

From here I will play with the gathering distribution on that sleeve cap, this might have been a misunderstanding of the patterns marks on my part.
Can you see the difference between the illustration and my muslin?  Yikes!


I also need to adjust the sleeve hem and placket which is simplicity itself as it has no placket piece, but has you create a placket from the under arm sleeve allowance and using hem tape to finish.  For authenticity's sake I will finish it that way.  The hem line though is uneven forming a peak at that underarm seam, which needs to be leveled out.  This might have occurred when I adjusted the length of the sleeve....I will be sure to post a tutorial on how to fix that simple and commonly found error.

Sunday, January 29, 2012

UFO Progress report - Indigo Junction Jacket IJ741

 Something has come over me....I find myself once again committing myself to new projects!
How does this happen when clearly I have plenty of unfinished projects to keep me busy...quite busy.
My new schedule is allowing me more time to sew...but let's not get carried away Lynne
Maybe an intervention is in order.
When last we left this project it looked very ...very similar to this, but there has been some progress.


The hem is complete.


If you look closely you can now see the sashiko stitching in silk thread up the center back.
I have also made progress on the other sleeve.


The hand quilting is completed.
I accomplished this by basting the wool and silk layers together ( long white thread)
Marking 1" lines with a chalk wheel 
Then I did a hand quilting or running stitch.
This does not take as long as you think it will....really:)


I am careful to not do my running stitch to close to the seam line because I will need room to press the seam open once it has been machine sewn.  I pin the silk lining out of the way because I don't want to catch it in the seam.


After my seam is sewn I press it open using a seam stick.  This prevents me from pressing a crease in the silk lining.


Once the seam has been pressed open I can lay the silk over the seam and hand stitch it closed.
I will do this tonight while watching Downtown Abbey.
I will also fix this little annoyance...


Do you see how the hem is uneven....Argh.  This is a basic pattern mistake which really rather irritates me.  It's also a rather common mistake. 
But what irritates me more is that I let it get this far....why?
When I trued up the pattern, I did not fix it...and this is something I specifically look for!
When I sewed up my cuff all I needed to do was trim it even with the front hem before I hand bound the hemline!  Each time I encountered this issue I just kept thinking " Oh for goodness sake Lynne, lighten up, its a bed jacket"  Ah yeah, a bed jacket I will be spending many many many hours on.  

If your going to do something....do it to the best of your ability.

Clearly this needs to be fixed especially since I didn't let it get this far on the other cuff - lol
So tonight..while watching Downtown Abbey this will be ripped back to the point where I can make it right.

Do you ever see a problem coming and do nothing to prevent it from becoming a bigger problem?
Why? 
 Will I ever stop this?  
Please share your similar experiences with me..
I need to know I am not the only one who pursues such a foolish course. 

Friday, January 27, 2012

Caped Crime Fighter - Dart & Godet tutorial

This tutorial covers the sewing directions on the WS1002 Caped Crime Fighter Pattern under
 "Cowl Sewing Instructions" steps 2-7


This is how your side Cowl #5 will look after cutting out and marking the darts and Godet cutting line. Cut along the Godet cutting lines an inch or two.
Do not cut any deeper until after the darts are sewn.


Step #2
Fold the darts with right sides together down the center and place pins at each end.
To insure your darts are accurately sewn.  Pierce the fabric with your pin along the front stitch line and straight through to the back stitch line as shown.

Continue to pin along your dart stitch line and then sew from one end to the other.


Always press your dart flat first being careful to not press beyond the point, which would cause the dreaded dimple. 
 Once the dart is pressed flat you will press the dart that leads into the godet towards the front of the cowl.  The lower dart which touches the hem line will be pressed towards the back of the cowl.


 Step #4 & 5
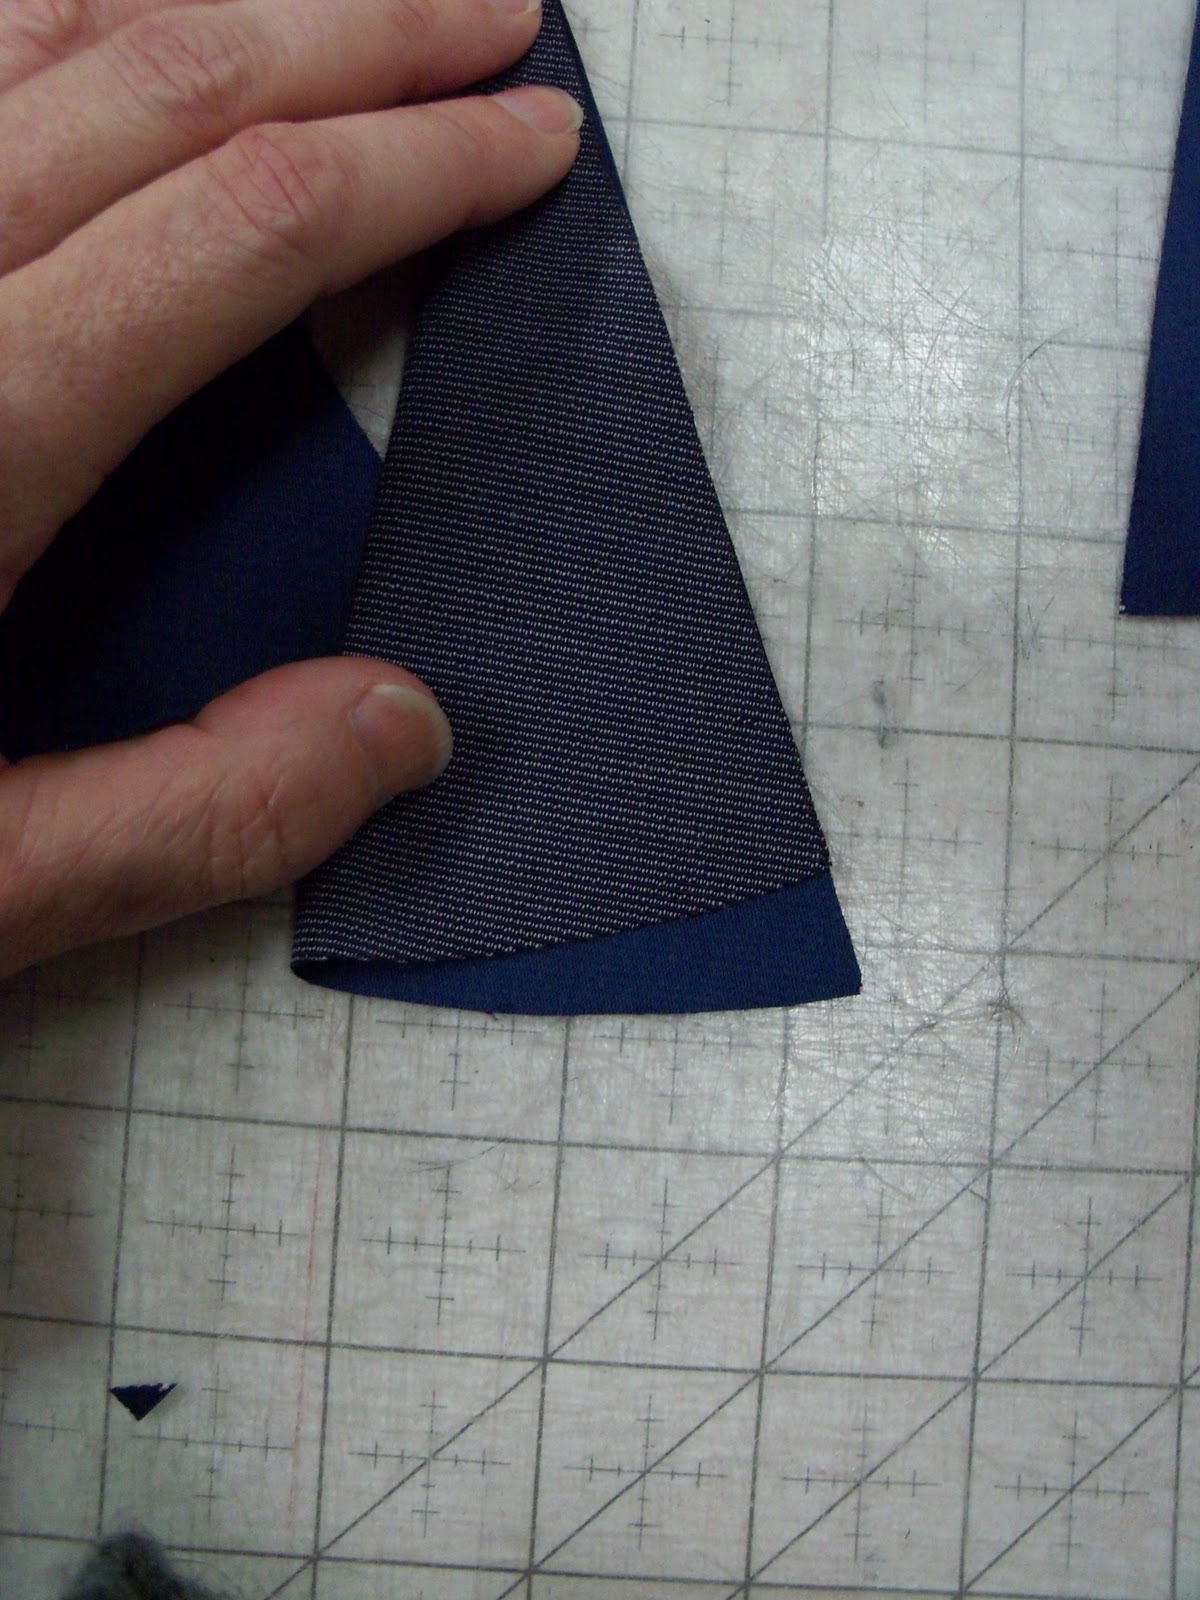
Moving onto the godet piece #7 - It is important that you mark the dot located at the apex of the godet. 
You will notice that one side of the godet is slightly shorter then the other.  The longer edge gets sewn to the longer/leading godet cut line.  
You can now cut the godet cut line to within 1/2" of your sewn dart.


With right sides together pin the dot on the Godet #7 to the very end of your sewn dart.


Place another pin at the bottom edge matching the cut line.  
The cut line will not match along the entire edge. 
Sew from the dot  maintaining  a 1/2" seam allowance along  your Godet cut edge.  Your bottom edge may or may not match depending on the accuracy of your cutting and dart sewing, but don't worry if its a little short or long, this will get trimmed when you finish the hem edge.


This is what you seam line will look like from the cowl side once sewn.  


I realize this part is scary...but you will now continue cutting along your godet cutting line right up to the end of your dart and beginning of your godet stitch line.


Step #6 

Flip it over so your right sides match again and the opposing cutting line is "matched up with your opposite godet edge.  You will pin as you did the first, matching the cut lines at the bottom.  Sew from the top to the bottom maintaining your 1/2" seam allowance along the godet only.  The godet cut line will have a very narrow seam allowance at the top gradually ending in the 1/2" at the bottom.  Here you can see that my hem lines don't quite match...no worries because remember you will be trimming that when you finish the hem.


Step #7

Press the godet from the right side making sure the seam allowance is laying nice and flat.
From the right side then stitch in the ditch along the edge of the dart grabbing the top tip of the godet to secure.

Now repeat for the other side and your side cowl pieces will be ready to sew to  your center cowl piece.  

Please leave a comment if you have any questions and I will respond back as soon as possible.

Hope you have enjoyed learning a new skill:)
Related Posts Plugin for WordPress, Blogger...