

I wanted to add a little pizazz to my 2nd pair and decided on this racing stripe. It added a little time to the process, but I think it was worth it. They can still be made in a few hours.
So, lets get to the tutorial.....

I created a new cut line on my pattern by coming in from the side seam 1.5" on the front pant, and 1" on the back pant. I did not divide evenly because I wanted the stripe to favor the front leg a touch.
When I laid my pants out I used dressmakers carbon to mark the new cutting line.
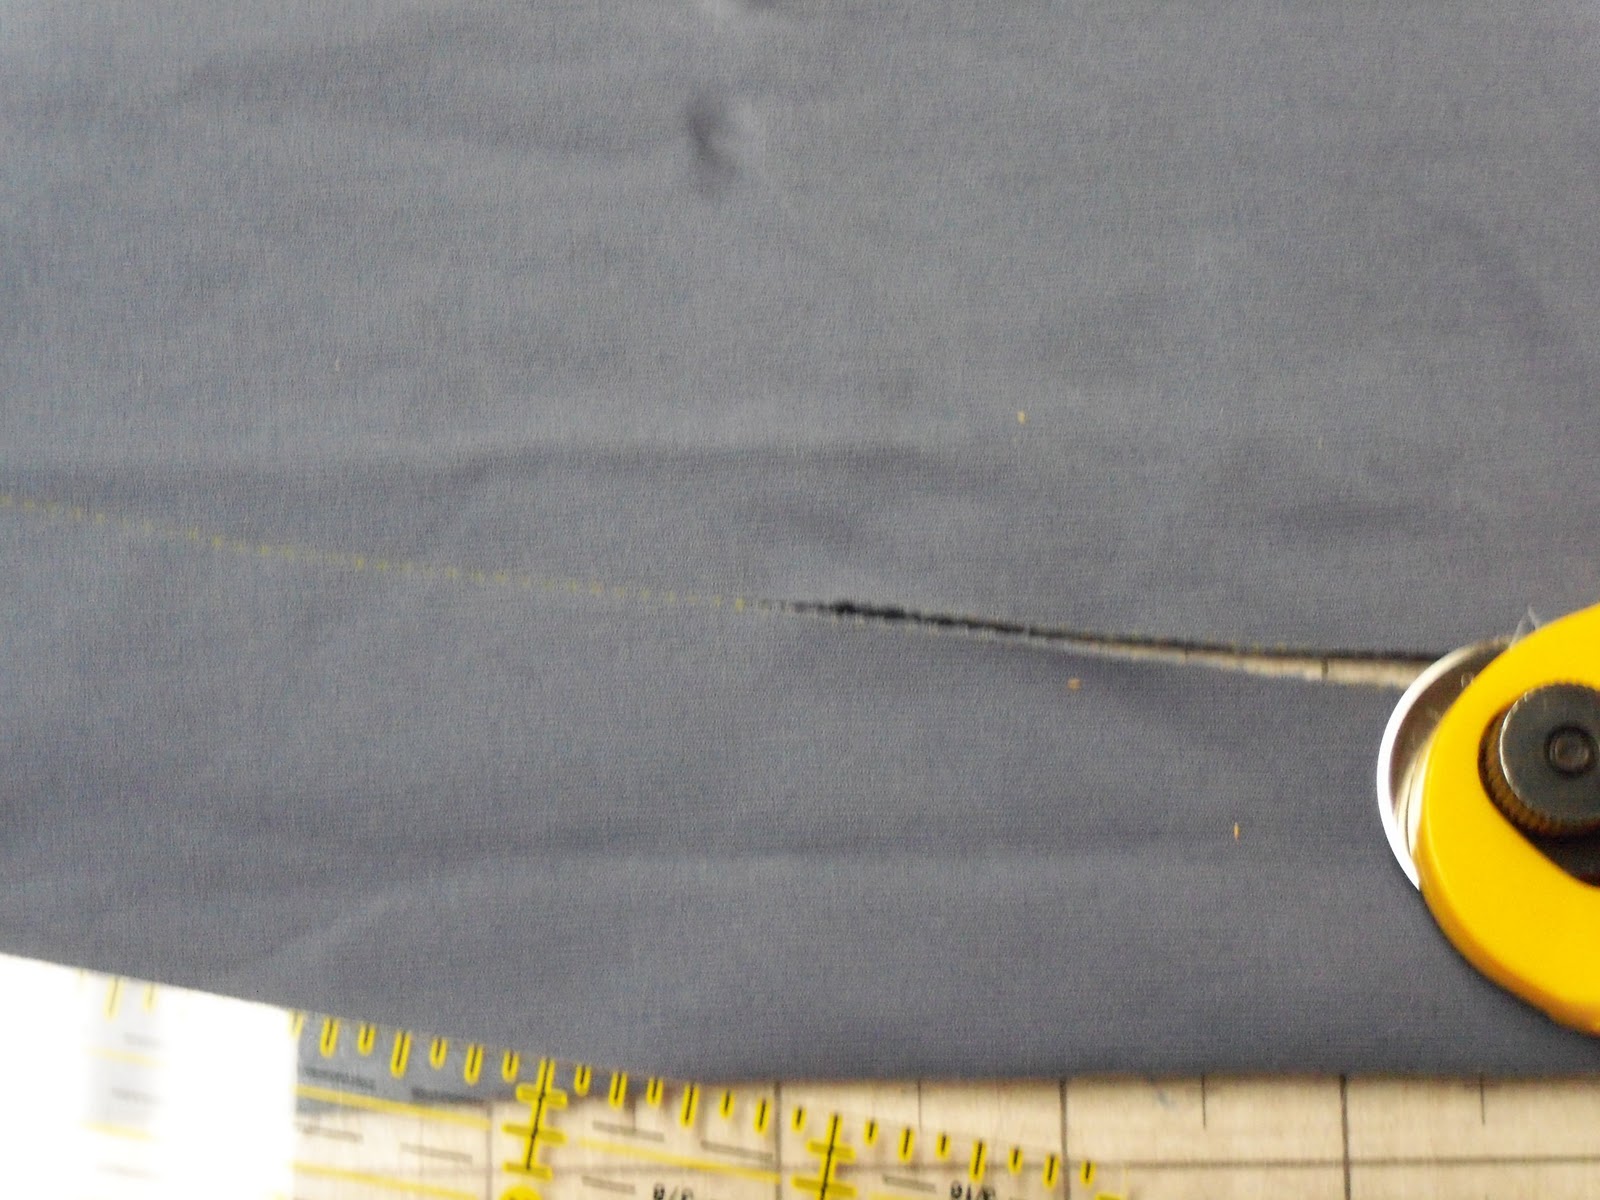 I then cut the pants out starting at the hem and working my way around to the side seam. then I removed the pattern and cut along the carbon line. Here you can see me using my rotary cutter to cut along the carbon line.
From my lighter colored Supplex I cut a strip the length of my side seam, 36". The width is my desired width plus 1/4" for my seaming.

Now my seaming is going to be a decorative "flat lock" that my Bernina does which allows for a lot of stretch and a completely flat seam. Because you lap the seams on top of each other you only need 1/8" seam allowance. A little scary I realize, but it works well.
Here I have marked my strips with chalk 1/4" from the edge.

 To stitch I place the cut edge of my pant side seam along the inside edge of my #1 foot. Loosen the pressure on your presser foot to prevent the top layer from getting pushed towards you as you sew. As you can see it is doing in the picture.
On my Bernina this stitch is #16 and is called a Honeycomb stitch. They suggest it for stitching on ribbing for necklines with a decorative touch.
I have a pair of Nike pants that use a flat lock stitch to create a similar look. My Bernina serger does a flat lock but it does not look the same as the industrial version, so I preferred this.
 I simply had to close this post with a picture of the pants with my shoes....pretty matchy...I mean swanky right? Next on the agenda of course is a hot pink t-shirt, but I have not quite settled on a design for that yet. Hmm something to ponder while sewing for clients.
If you would like more information on the entire sewing process of these pants, just check out the previous Active Wear Sew Along post.
They look great!
ReplyDeleteThese are gorgeous! I love them with the shoes too.
ReplyDeleteI came to your blog (which is now in my reader!) looking for information about flat lock stitching. Did you also flatlock the inside seam? How do you do that without sewing the two sides of the leg together? I just can't picture it...
Welcome Skittl1321. You are right about not using the flat lock along the inseam. Some people prefer to flatlock the inseam so that it reduces the risk of chaffing, say while riding a bike, but that was not a concern for me.
ReplyDeleteLooking forward to getting to know you,
Lynne
Nice! I dig the stripe along the side seam & choice of colors. Fun! How do you like wearing them?
ReplyDelete